Amazon Bedrock, LangChain과 사용하기
2. Amazon Bedrock API, LangChain 사용해보기
6. 간단한 검색증강(RAG : Retrieval Augmented Generation) 구현
7. 간단한 챗봇 구현 (Conversation Memory)
8. 챗봇 구현 (RAG + Conversation Memory)

Streamlit은 머신러닝 애플리케이션을 시연하기 위한 프론트 엔드 애플리케이션을 쉽게 구성할 수 있도록 돕는 오픈소스 Python 런타임 프레임워크입니다. Streamlit을 사용하면 간단하고 매력적인 유저 인터페이스를 구현할 수 있습니다. 백엔드 개발자여도, 프론트 엔드를 구현하기위한 랭귀지, 프레임워크 등에 대해 배울필요없이 데모애플리케이션을 만들 수 있습니다.
앞으로 포스트에서 프론트엔드는 Streamlit을 사용할것이므로, Streamlit 도큐먼트를 참고하여 환경을 구성하도록 합니다.
Streamlit Docs
Join the community Streamlit is more than just a way to make data apps, it's also a community of creators that share their apps and ideas and help each other make their work better. Please come join us on the community forum. We love to hear your questions
docs.streamlit.io
Streamlit Application 생성
파이썬으로 파일을 생성하고 Import문으로 Stremlit을 임포트합니다.
import streamlit as st
페이지 제목과 브라우저탭의 제목을 설정해보겠습니다.
st.set_page_config(page_title="Streamlit Demo") #HTML title
st.title("Streamlit Demo") #page title
사용자 Input을 받을수 있도록 입력요소를 추가해보겠습니다.
color_text = st.text_input("What's your favorite color?") #display a text box
go_button = st.button("Go", type="primary") #display a primary button
출력을 확인할 수 있도록 출력요소를 추가합니다.
if go_button: #code in this if block will be run when the button is clicked

    st.write(f"I like {color_text} too!") #display the response content
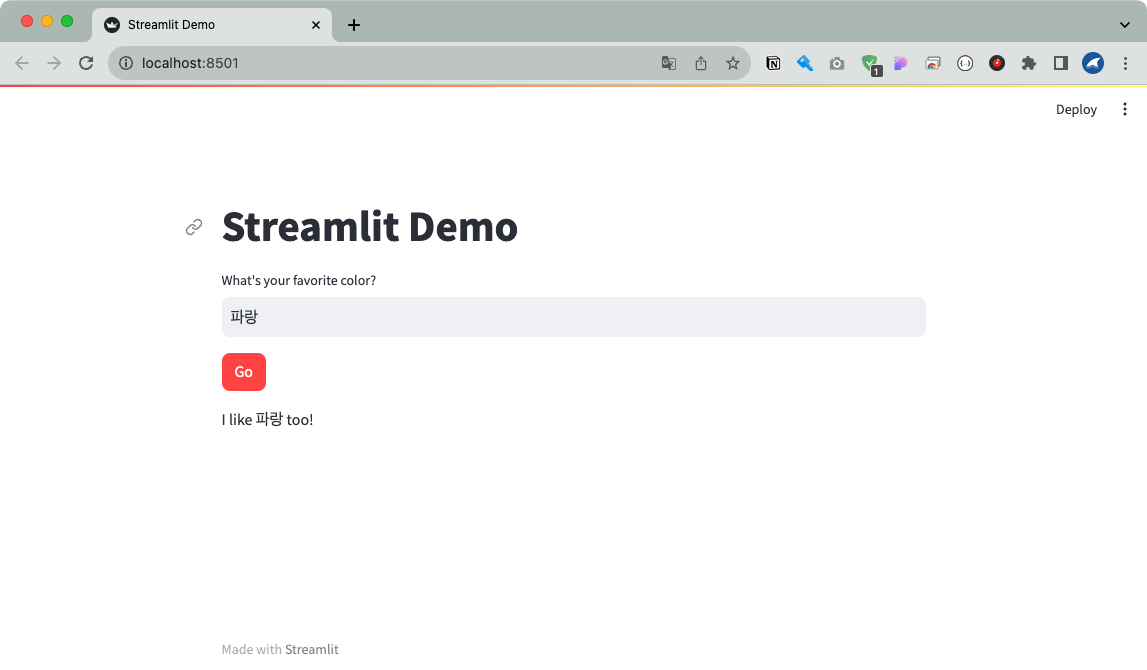
전체코드는 다음과 같습니다. 단 몇줄만으로 간단한 프론트페이지를 작성하였습니다.
import streamlit as st

st.set_page_config(page_title="Streamlit Demo") #HTML title
st.title("Streamlit Demo") #page title

color_text = st.text_input("What's your favorite color?") #display a text box
go_button = st.button("Go", type="primary") #display a primary button

if go_button: #code in this if block will be run when the button is clicked

    st.write(f"I like {color_text} too!") #display the response content
앱을 실행해보도록 하겠습니다.
streamlit run simple_streamlit.py
텍스트 생성
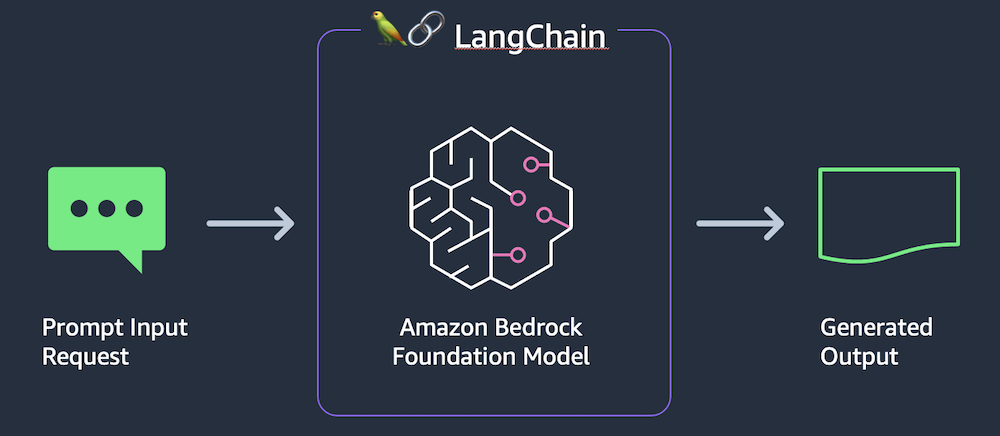
Stremlit 사용법을 알았으니, 이제 Bedrock과 LangChain을 사용해서 간단한 텍스트 생성기를 구축해보겠습니다. 아키텍쳐는 위와 같습니다. 애플리케이션은 두개의 파이썬파일로 구성되며 하나는 Streamlit, 하나는 Bedrock을 호출하기위한 라이브러리용입니다.
라이브러리용 파일을 작성하겠습니다. (lib.py)
from langchain.llms.bedrock import Bedrock

def get_text_response(input_content): #text-to-text client function
  llm = Bedrock(
      region_name='us-east-1',
      endpoint_url="https://bedrock-runtime.us-east-1.amazonaws.com",
      model_id="ai21.j2-ultra-v1",
      model_kwargs = {"maxTokens":1014,
                      "temperature":0.7,
                      "topP":0.01,
                    }
  )
  prompt = input_content
  return llm.predict(prompt)
Streamlit용 파일을 작성하겠습니다. (front.py)
import streamlit as st #all streamlit commands will be available through the "st" alias
import lib as glib #reference to local lib script

st.set_page_config(page_title="Text to Text") #HTML title
st.title("Text to Text") #page title

input_text = st.text_area("Input text", label_visibility="collapsed") #display a multiline text box with no label
go_button = st.button("Go", type="primary") #display a primary button

if go_button: #code in this if block will be run when the button is clicked

    with st.spinner("Working..."): #show a spinner while the code in this with block runs
        response_content = glib.get_text_response(input_content=input_text) #call the model through the supporting library

        st.write(response_content) #display the response content
한번 텍스트를 생성해보겠습니다.
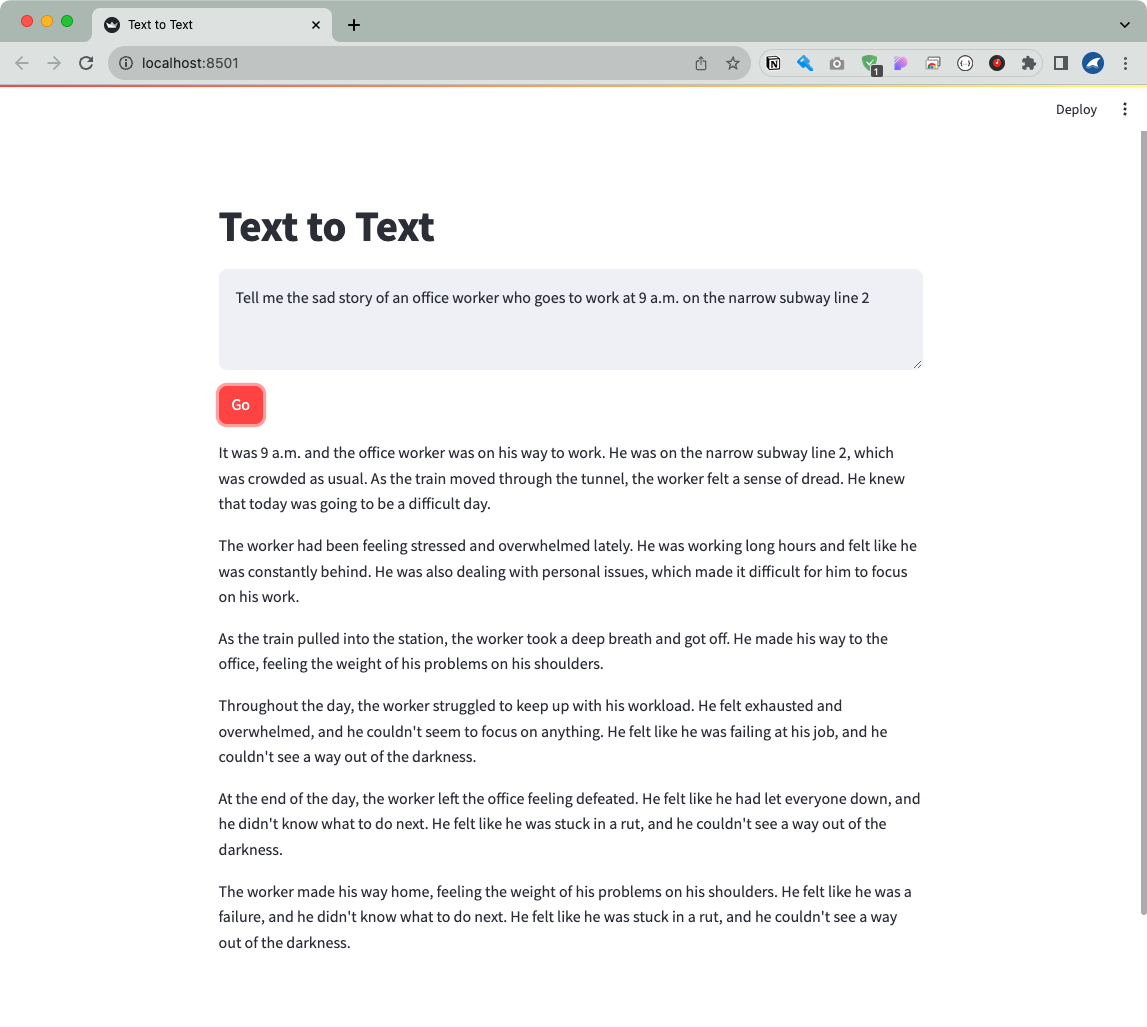
잘 생성되네요.
이미지 생성
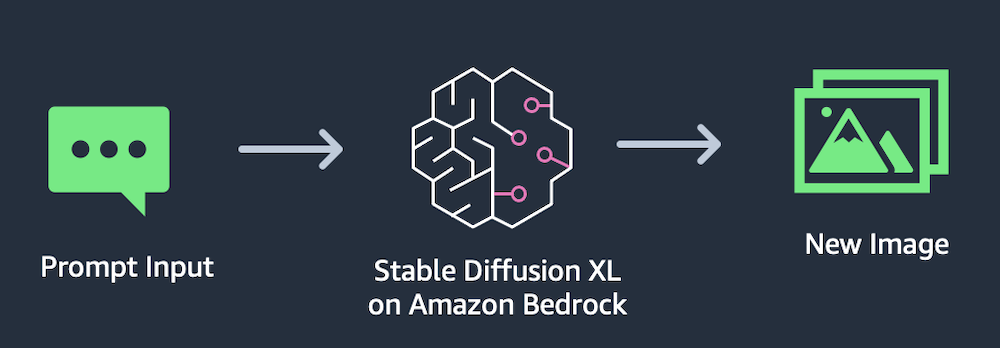
이번엔은 Bedrock의 Stable Diffusion 모델을 사용하여 이미지를 생성하는 애플리케이션을 작성해보겠습니다. Stable Diffusion은 텍스트 프롬프트를 기반으로 이미지를 생성합니다.
라이브러리용 파일 (lib.py)
import boto3
import json
import base64
from io import BytesIO

session = boto3.Session()

bedrock = session.client(
    service_name='bedrock-runtime',
    region_name='us-east-1',
    endpoint_url="https://bedrock-runtime.us-east-1.amazonaws.com"
)

bedrock_model_id = "stability.stable-diffusion-xl-v0"

def get_response_image_from_payload(response):

    payload = json.loads(response.get('body').read())
    images = payload.get('artifacts')
    image_data = base64.b64decode(images[0].get('base64'))

    return BytesIO(image_data)

def get_image_response(prompt_content):

    request_body = json.dumps({"text_prompts":
                               [ {"text": prompt_content } ],
                               "cfg_scale": 9,
                               "steps": 50, })

    response = bedrock.invoke_model(body=request_body, modelId=bedrock_model_id)

    output = get_response_image_from_payload(response)

    return output
Streamlit 파일 (front.py)
import streamlit as st
import lib as glib

st.set_page_config(layout="wide", page_title="Image Generation")
st.title("Image Generation")

col1, col2 = st.columns(2)

with col1:
    st.subheader("Image generation prompt")

    prompt_text = st.text_area("Prompt text", height=200, label_visibility="collapsed")
    process_button = st.button("Run", type="primary")

with col2:
    st.subheader("Result")
    if process_button:
        with st.spinner("Drawing..."):
            generated_image = glib.get_image_response(prompt_content=prompt_text)

        st.image(generated_image)
출력을 확인해보도록 하겠습니다.
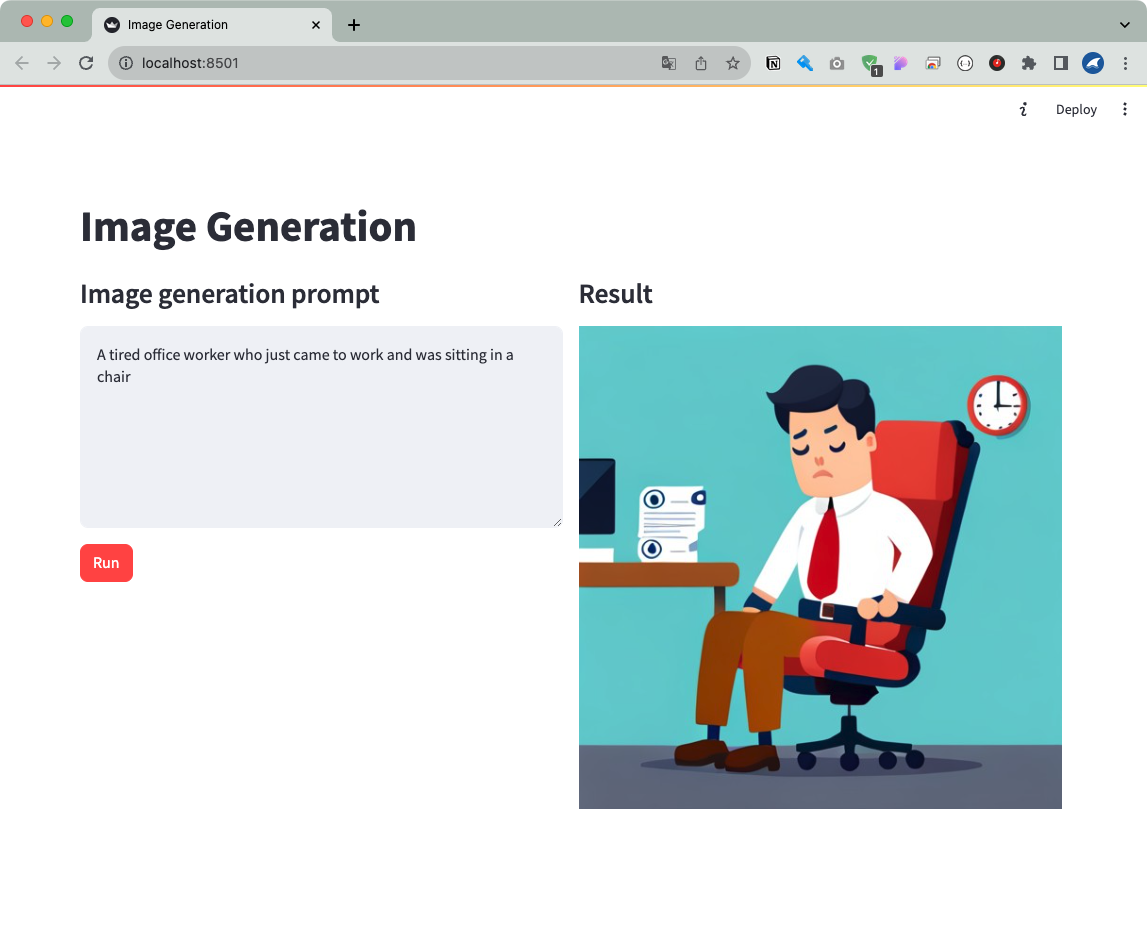
잘되는것을 확인할 수 있습니다.


